

Precautions for Fabric Pilling Testing
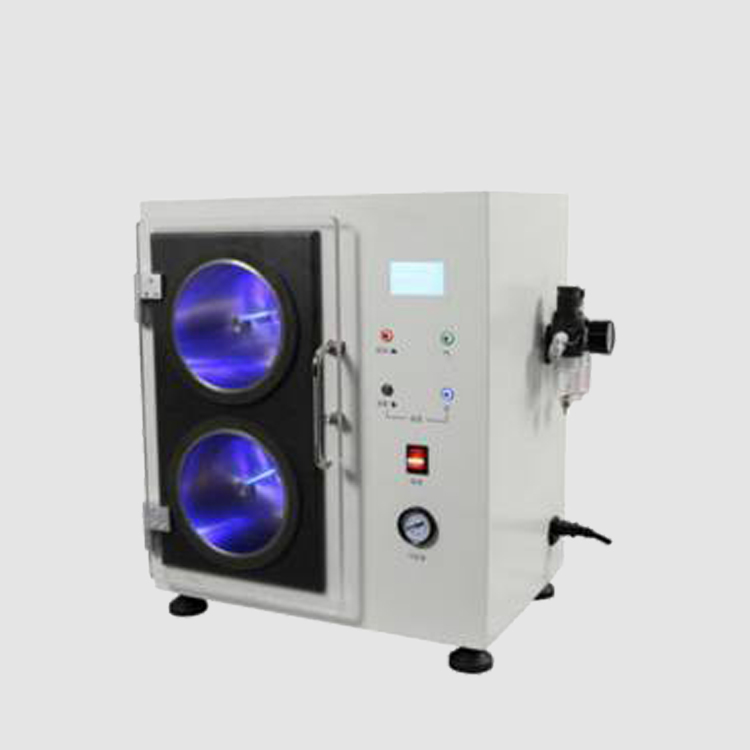
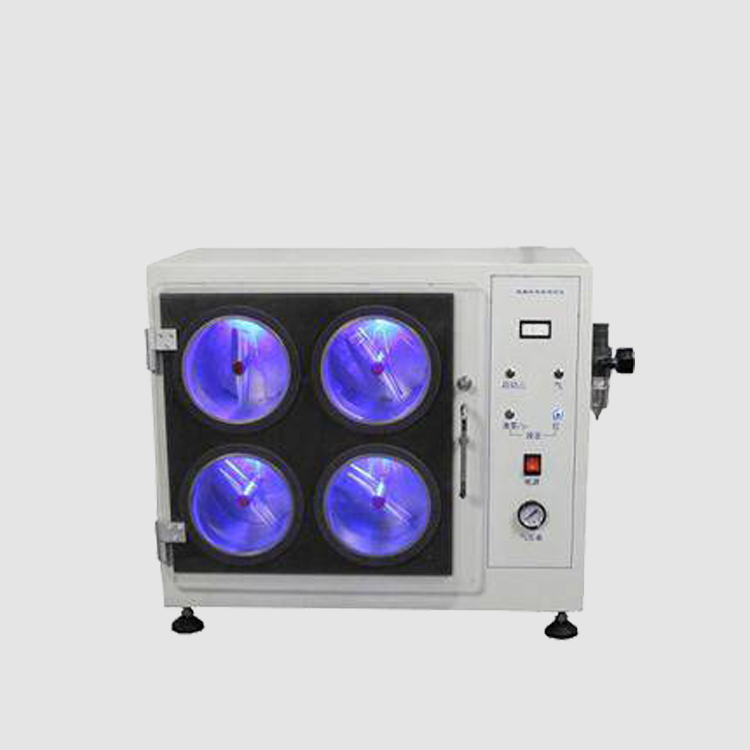
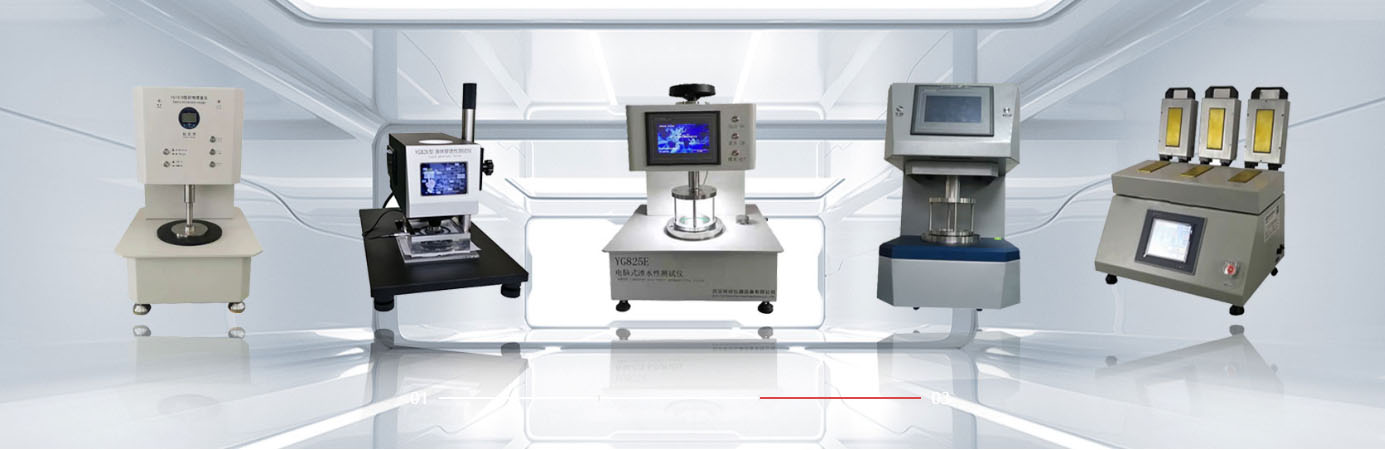
There are four main methods for fabric pilling testing: the Random Tumble Pilling Tester method, the Martindale Abrasion and Pilling Tester method, the Box Pilling Tester method, and the Circular Locus Pilling Tester method, in accordance with the standard GB/T4802.3.
I. Testing Process:
1. Specimen Preparation:
(1) Pre-treatment: If pre-treatment is required, wash or dry clean the samples using a method agreed upon by both parties. (Pre-treatment is recommended to protect the friction surface of the pilling box and the specimen tubes from the effects of residual lubricants or finishing agents on the fabric.)
(2) Cut 4 specimens from the fabric sample. Cut another piece of fabric of the same size to serve as a comparison sample for rating. Fold 2 specimens lengthwise with the face side inward, and fold 2 specimens widthwise with the face side inward. Sew 12 mm from the edge using a sewing machine.
(3) Turn the sewn specimens inside out so that the face side is outward. Cut a 6 mm slit at each end of the specimen tube to remove sewing distortion. Mount the specimen onto a polyurethane carrier tube and secure it with PVC tape (ensuring that 6 mm of polyurethane is exposed at each end, and the tape length does not exceed 1.5 times the circumference of the polyurethane tube).
2. Testing Procedure:
(1) Clean the pilling box.
(2) Place the 4 mounted carrier tubes into the box, close the lid securely, and set the counter to the required number of revolutions.
(3) Preset the number of revolutions according to the agreed protocol. In the absence of an agreement, coarse fabrics should be tumbled for 7,200 revolutions, and worsted fabrics for 14,400 revolutions.
(4) Start the pilling box. After the test is completed, remove the specimens, take out the stitching threads, and proceed with specimen rating.
3. Rating Evaluation:
Under a standard light source, compare the specimen with the standard photographic reference for rating. Multiple evaluators should compare and analyze the specimen against the standard reference in a rating cabinet. The result is taken as the pilling rating of the specimen. The photographic reference method uses five grades, ranging from 1 to 5. The lower the grade number, the more severe the pilling; conversely, the higher the grade number, the better the anti-pilling performance.
II. Precautions:
Maintain a stable voltage during use to avoid burning out the power supply.
Regularly clean the cork liners with a suitable cleaning solvent, such as industrial methylated spirit or trichloroethylene.
When replacing test tubes, new test tubes must be inspected before use.
Regularly check the control panel buttons and the screws on all parts to ensure they are functioning properly.
Clean the instrument before and after each test to ensure that all lint and debris are removed from the box.
Every six months, reference fabrics should be retested and compared with the original test specimens.